Workspace Management
Data on the platform is isolated by workspaces. Each workspace has its own UNS models, flows, data source connections, and users.
Inviting Users to Workspaces
- Log in to Tier0, click on your avatar and then click Invite.
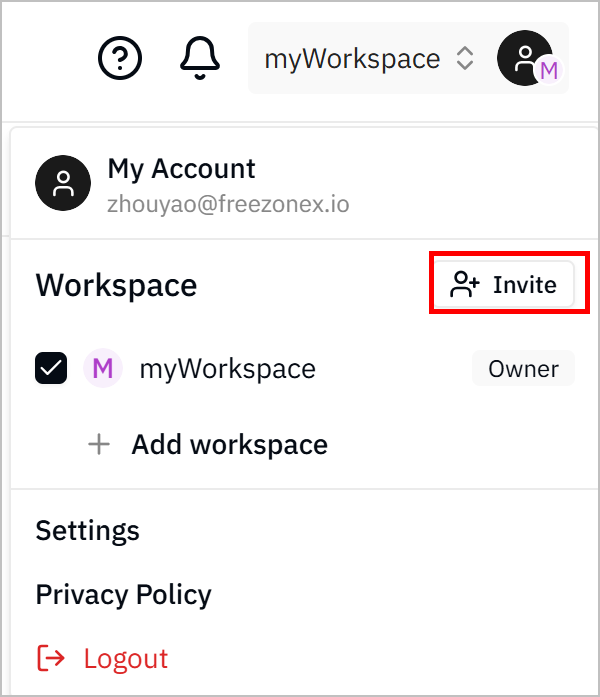
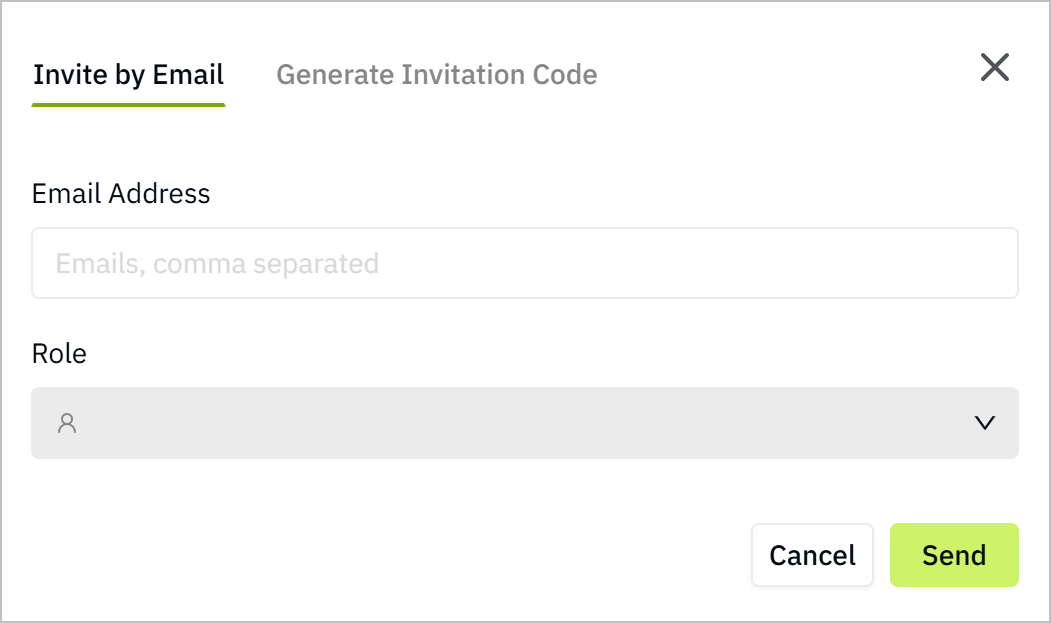
- Enter the email addresses of users to invite, set their roles, and then click Send.
- Admin: Can manage workspace settings and members.
- Member: Can use workspace.
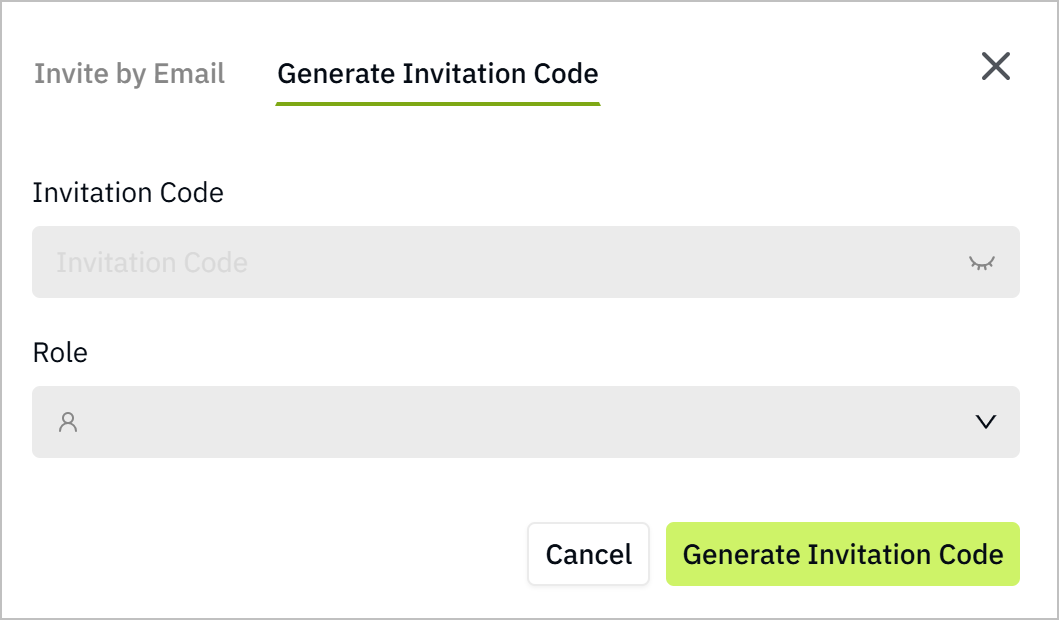
- (Optional) Click Generate Invitation Code, and send it to users to join the workspace directly.
Adding Workspace
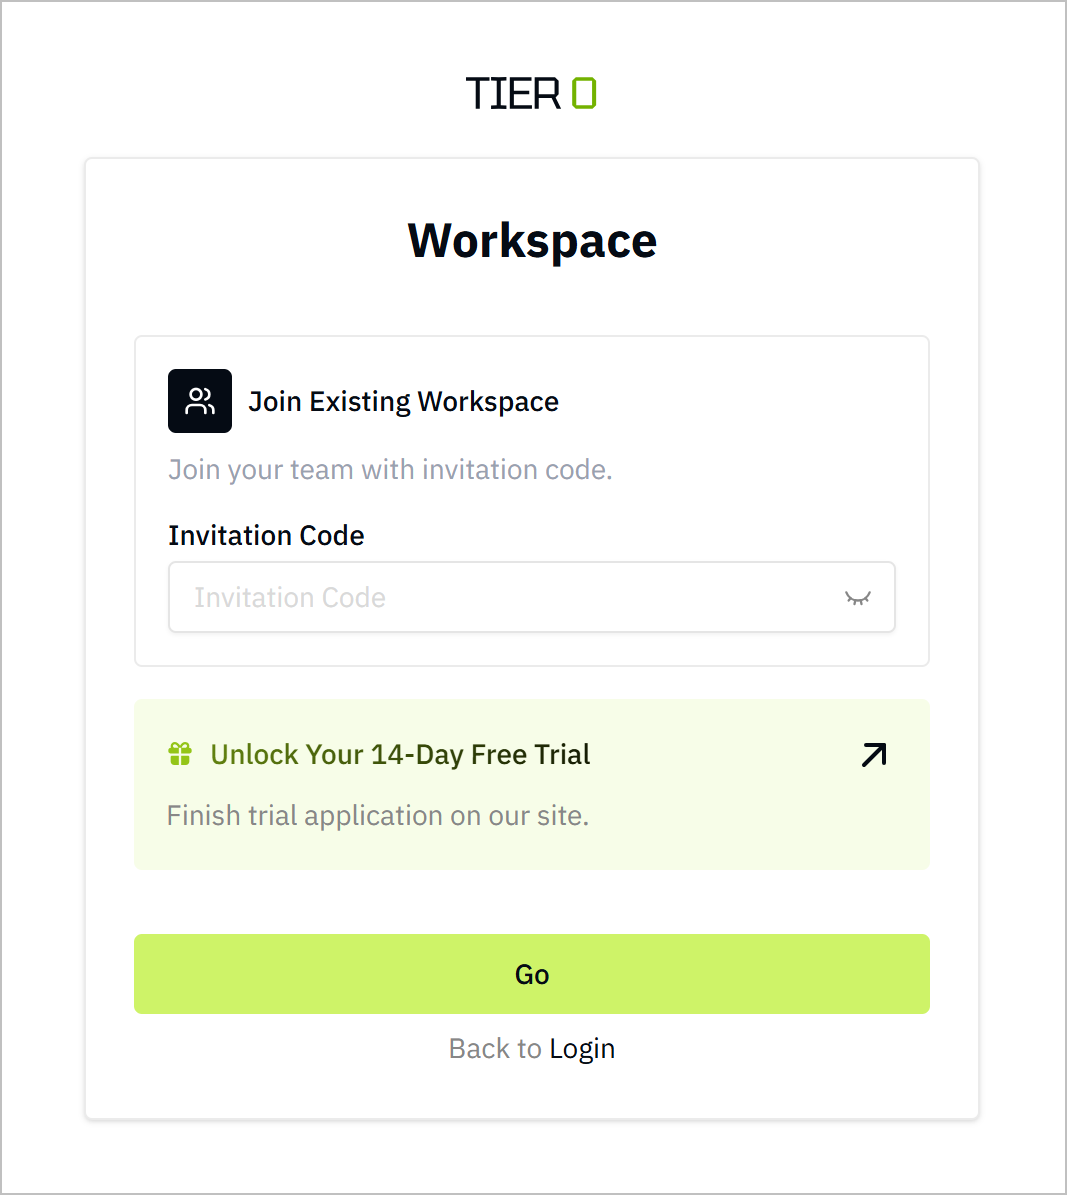
- Log in to Tier0, click on your avatar and then click Add workspace.
- Either enter the invitation code to join a workspace or to apply for a new one.
Configuring Workspace
- Log in to Tier0, click on your avatar, and then click Settings.
- Under Workspace, click General, and then configure the workspace as needed.
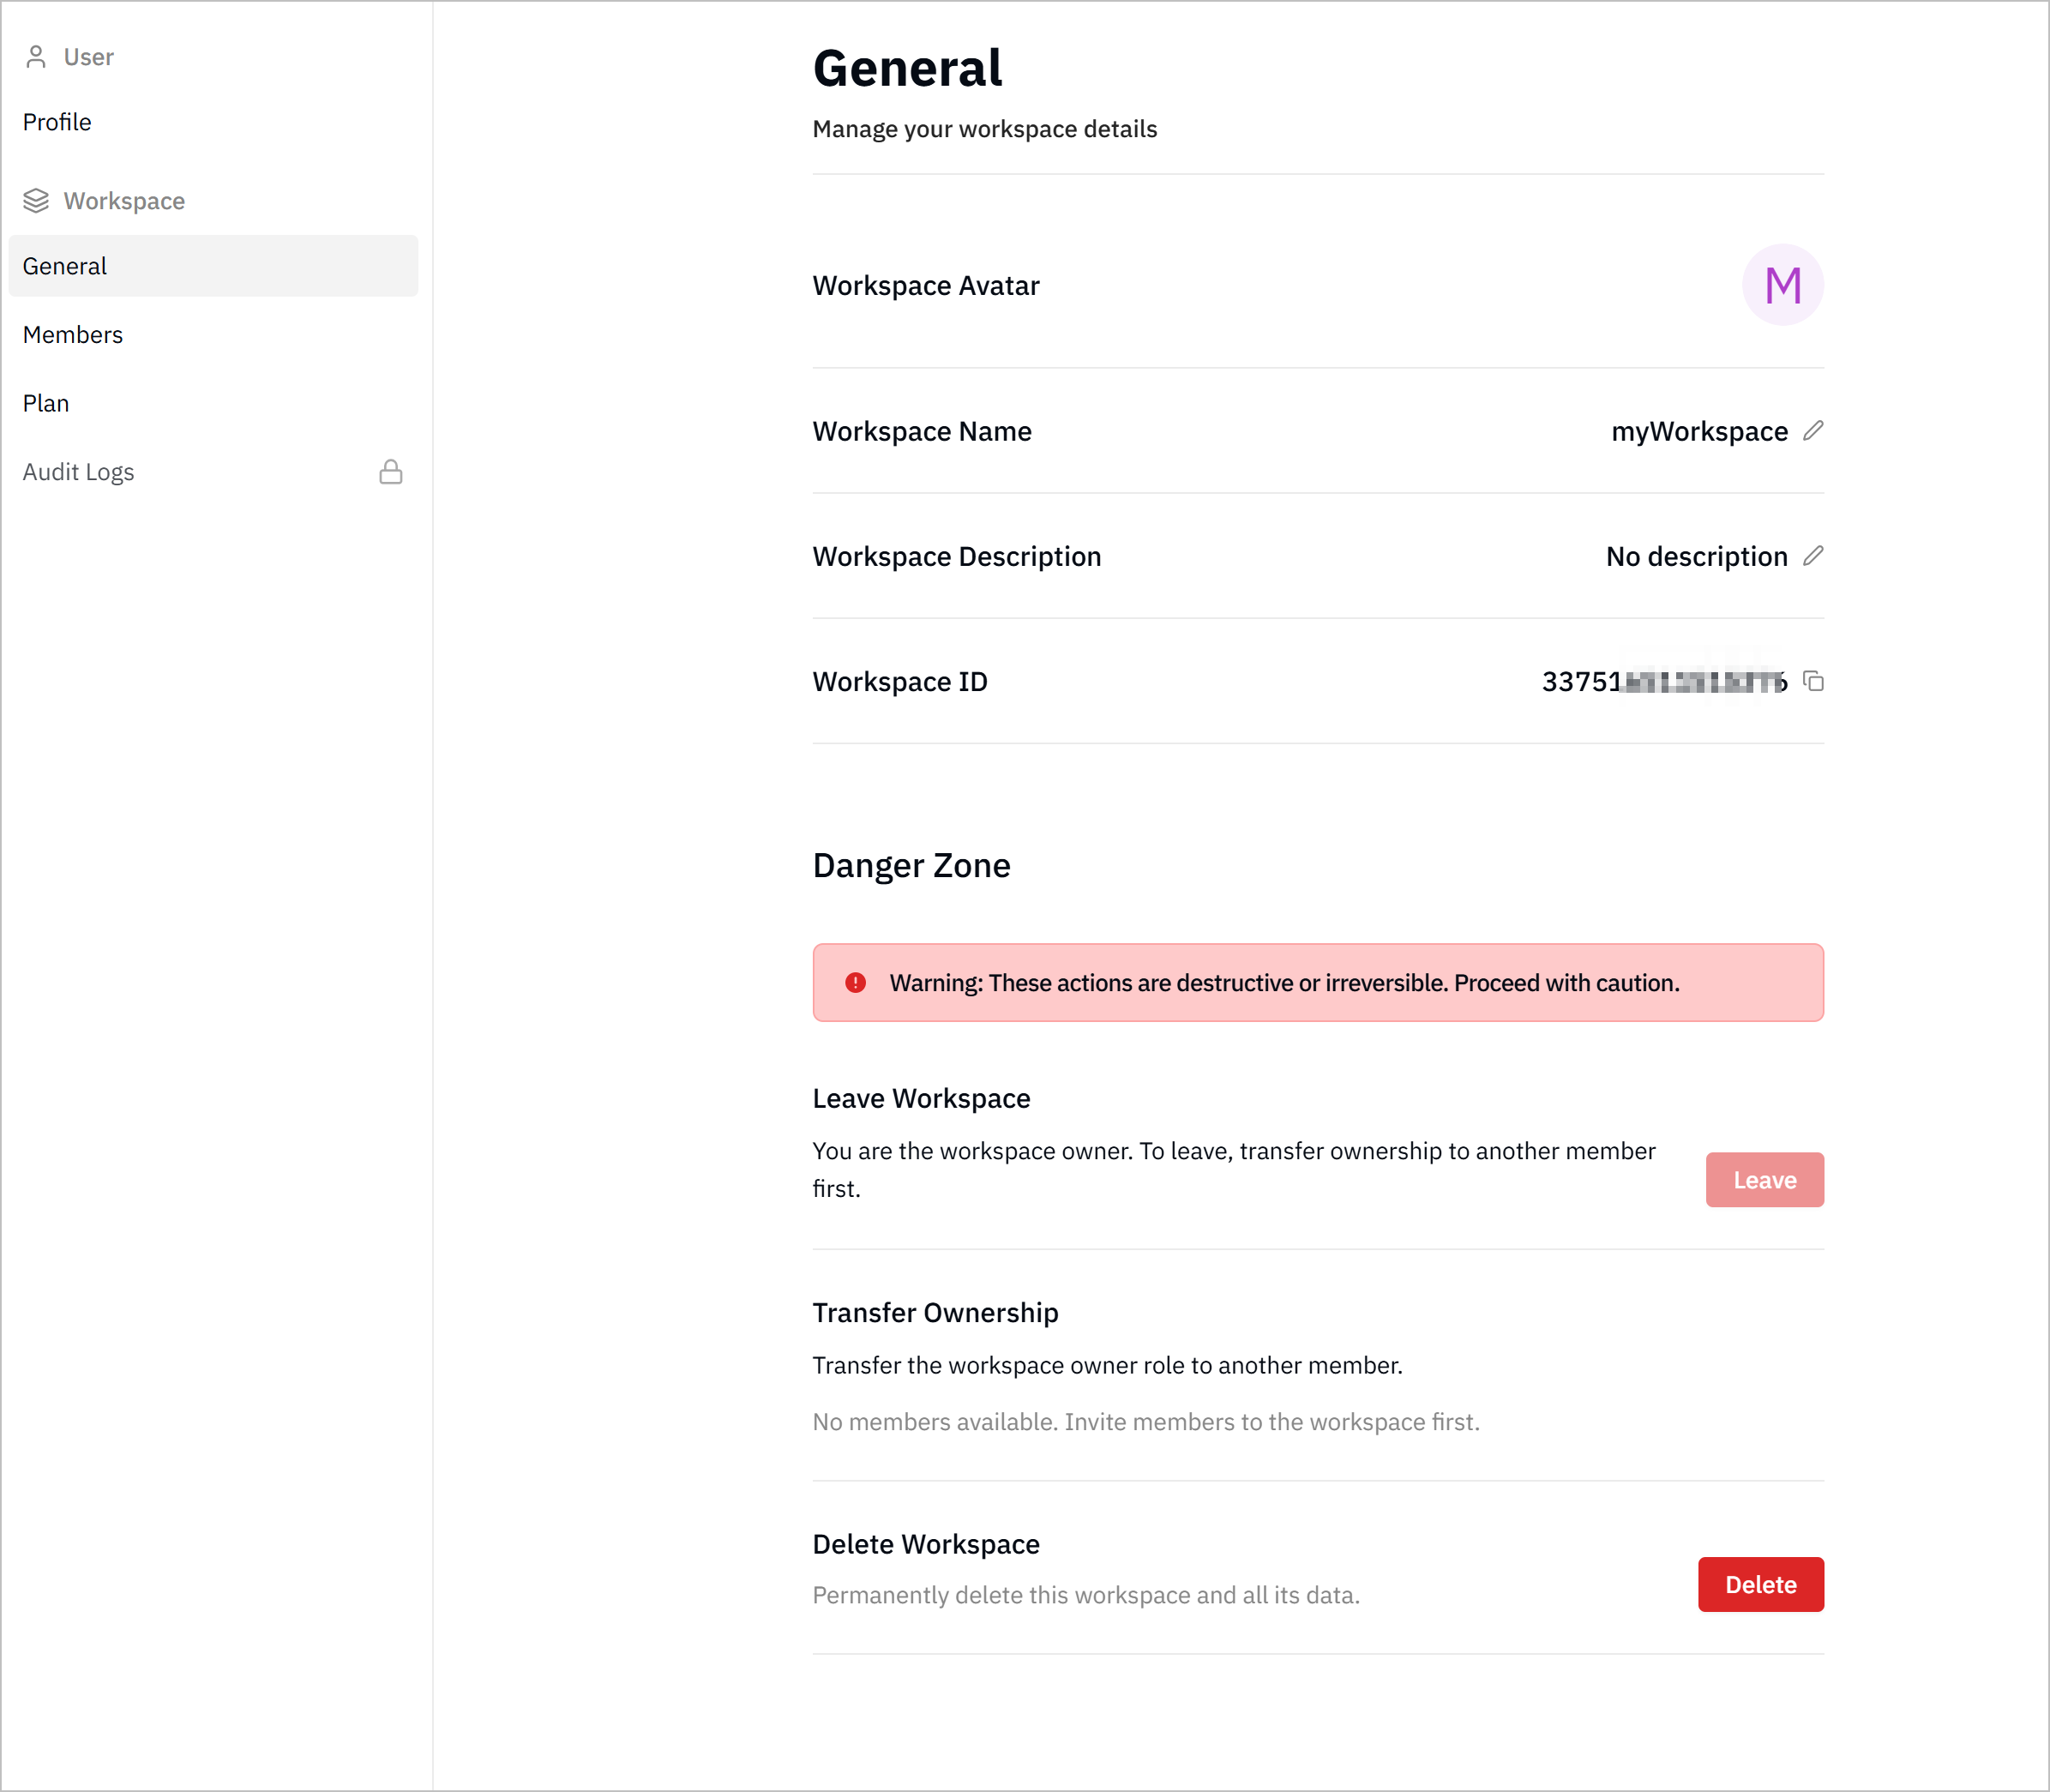
- Change workspace avatar/name/description: Click corresponding fields to change workspace information.
- Leave workspace: Click Leave next to Leave Workspace to leave the workspace permanently.
info
Only members can leave the workspace. Admins need to transfer ownership to other members before leaving.
- Transfer ownership: Click Transfer next to Transfer Ownership, select a member to transfer workspace ownership to.
info
Only admins can transfer ownership.
- Delete workspace: Click Delete next to Delete Workspace to delete the workspace permanently.

Managing Workspace Members
- Log in to Tier0, click on your avatar, and then click Settings.
- Under Workspace, click Members, and then manage workspace members, including invite new members, delete current members, change roles and more.
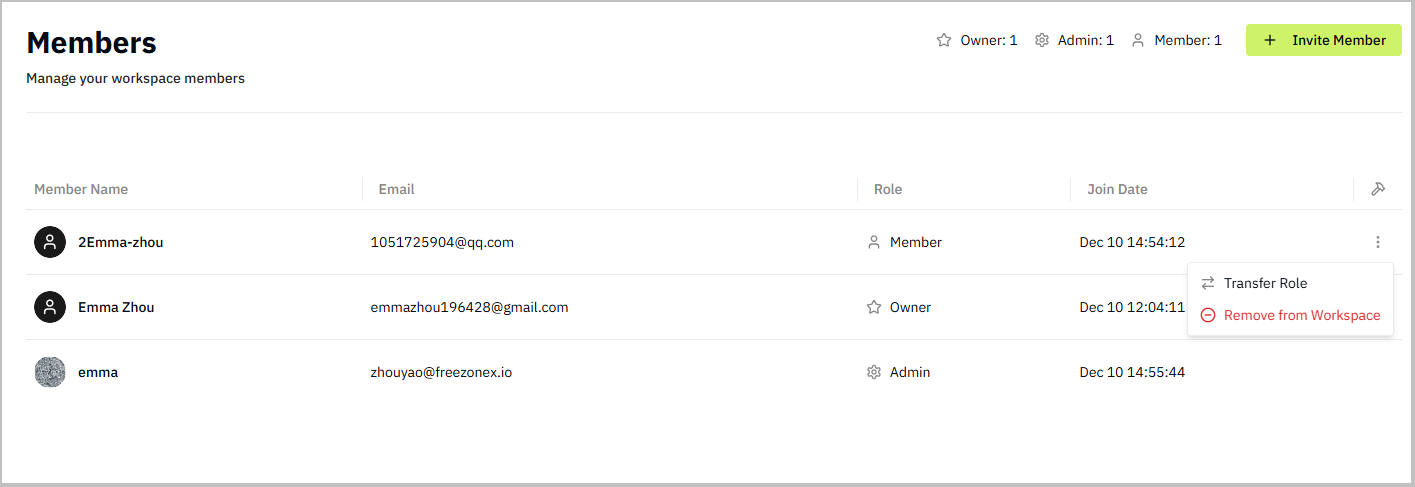
info
Same roles cannot act on each other. For example, an admin cannot change the role of another admin, but can change the role of a member.